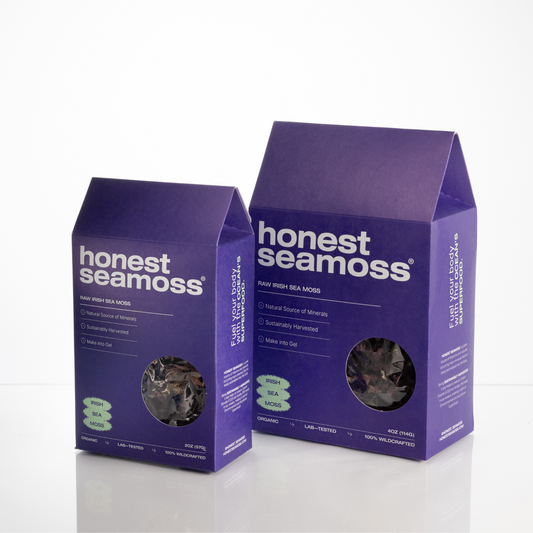
How to Make Sea Moss Gel
 Making Sea Moss Gel is a simple and easy process. There are a variety of ways you can do it depending on how much time you have.
Making gel involves rinsing, soaking (or boiling), and blending your Raw Irish Sea Moss. That's it!
We give you step-by-step details below, with a few adjustments depending on how much time you have.
Sea Moss Gel Instructions
If you have time, we recommend the 24-hour prep as the shorter prep requires boiling the water which could compromise some nutrients that seep into the water.
1. Clean
- Thoroughly rinse the raw Irish Sea Moss with cool water 3-5 times, making sure to remove any foreign ocean matter that may have stuck onto it. You'll know it's clean enough when the rinsed water is clear during draining
- During harvest, we go through multiple quality control checks to provide it as clean as possible, but it's always good to clean it again to minimize any impurities. If you'd like to know more, reach out to us and we're happy to give more information on how we ensure quality!
2. Soak

- Once cleaned, fill your container with just enough spring or mineral water to cover the Sea Moss. For every 4oz of raw Sea Moss, add about 8 cups (around 1.8L) of cool spring or mineral water.
- Squeeze the juice from a lime or lemon onto it.
- The acidity from the lime/lemon helps speed up the process and nullifies any remaining sea smell/taste. We always do this so that we don't have to worry about the gel messing up the flavor of whatever it is added to.
- Add a plate on top to help keep the Sea Moss under the water
- Soak for 12-48 hours
- The longer you soak, the easier it is to blend
- Alternatively, soak for 3 hours in spring or mineral water
- Heat the leftover water to a boil
- Pour back on the Sea Moss and cover for an additional 3 hours
3. Blend
- Blend the Sea Moss and add remaining water as you prefer
- The more liquid you add, the less gelatinous it will be
4. Store

- Store the gel in a clean container (preferably glass), running it through a strainer to filter out any unblended pieces (depending on blender power)
- Gel will last 2-3 weeks in the fridge, and up to 6 months in the freezer
- In order to prolong shelf life and avoid cross contamination, keep the container sealed, and minimize time spent out of the fridge
Keep in mind that the better you clean the Sea Moss, the better the Gel texture will be, along with taste and smell. The thickness of the gel is under your control. I like to minimize the water I soak it with, and when I blend I add more mineral water per my preference.
Tips:
I prefer to make large quantities at once (8oz or about 235 grams of raw Sea Moss can make 2-4 months' supply). I place about a month's worth in the fridge and store the rest in the freezer.

If you'd like to flavor the Gel while also giving it a mineral boost, feel free to add herbs and spices during the blending process. Herbs and spices have the highest concentration of antioxidants of all foods.
Antioxidants are important because they protect your cells against free radical damage, which is how heart disease, cancer, and almost all other diseases happen [1].
The herbs and spices with the highest concentrations of antioxidants also happen to pair well with Sea Moss Gel, depending on whether you want to add it to sweet smoothies or savory soups [2]:
-
 Cloves
 - Peppermint
- Allspice
- Cinnamon
- Oregano
- Thyme
- Sage
- Rosemary
- Saffron
The possibilities are endless and Sea Moss Gel is very versatile in that it can be added to many parts of our daily diet whether its a smoothie, tea, soup, curry, or dessert! For some recommendations, check out our article on delicious and healthy Sea Moss Gel Recipes.